About Me

My photo
Santa Clarita, Ca, United States
I work as a Technology Manager in the Entertainment Industry. My first film was Disney's Dinosaur and have been credited on several films since. I love working on old electronics, especially old radios. I am also passionate about technology and education. I have 4 kids and you can read about us on our family blog.

Sunday, September 1, 2024

GE Radio-Phonograph Combination Model 326


I was contacted by a coworker who was retiring.  He was moving out of state and had an old radio in storage. He asked if I was interested in taking it.  I went and picked it up from him in a storage facility.  The radio was certainly showing it's age. 


The radio is likely from 1946.  A wonderful piece of audio equipment from the post WW2 era of Andrew's Sisters and Bing Crosby!  - "war production brought new electronic developments".


This had been a family radio for multiple generations, likely purchased in the Los Angeles area in the 1940's.  As I had worked with this person for several years, I wanted to give it an extra special restoration. It's not often that I know the pedigree of a radio that restore and I like to think of myself as a steward of the object preserving it for the future.  Here's a photo of the radio in their home in 1956. It would have been roughly 10 years old at this point. 

Interior tag information.


Initial Triage

I brought the radio up slow on the Variac.  Surprisingly, it was in pretty good shape electronically.  The turntable did not move, but I was able to get the radio to play.  Other than the turntable, some missing dial lights, a large hole in the speaker, and dirty switches it appeared to be electronically OK. 


As the radio was playing, I decided to pivot over to cosmetic restoration as the first priority.

Cabinet

Overall, the cabinet was not in bad shape.  Rather than do an refinish, I simply touched it up with Howard Restore A Finish.  It's a great product, and I've used it on multiple projects. 
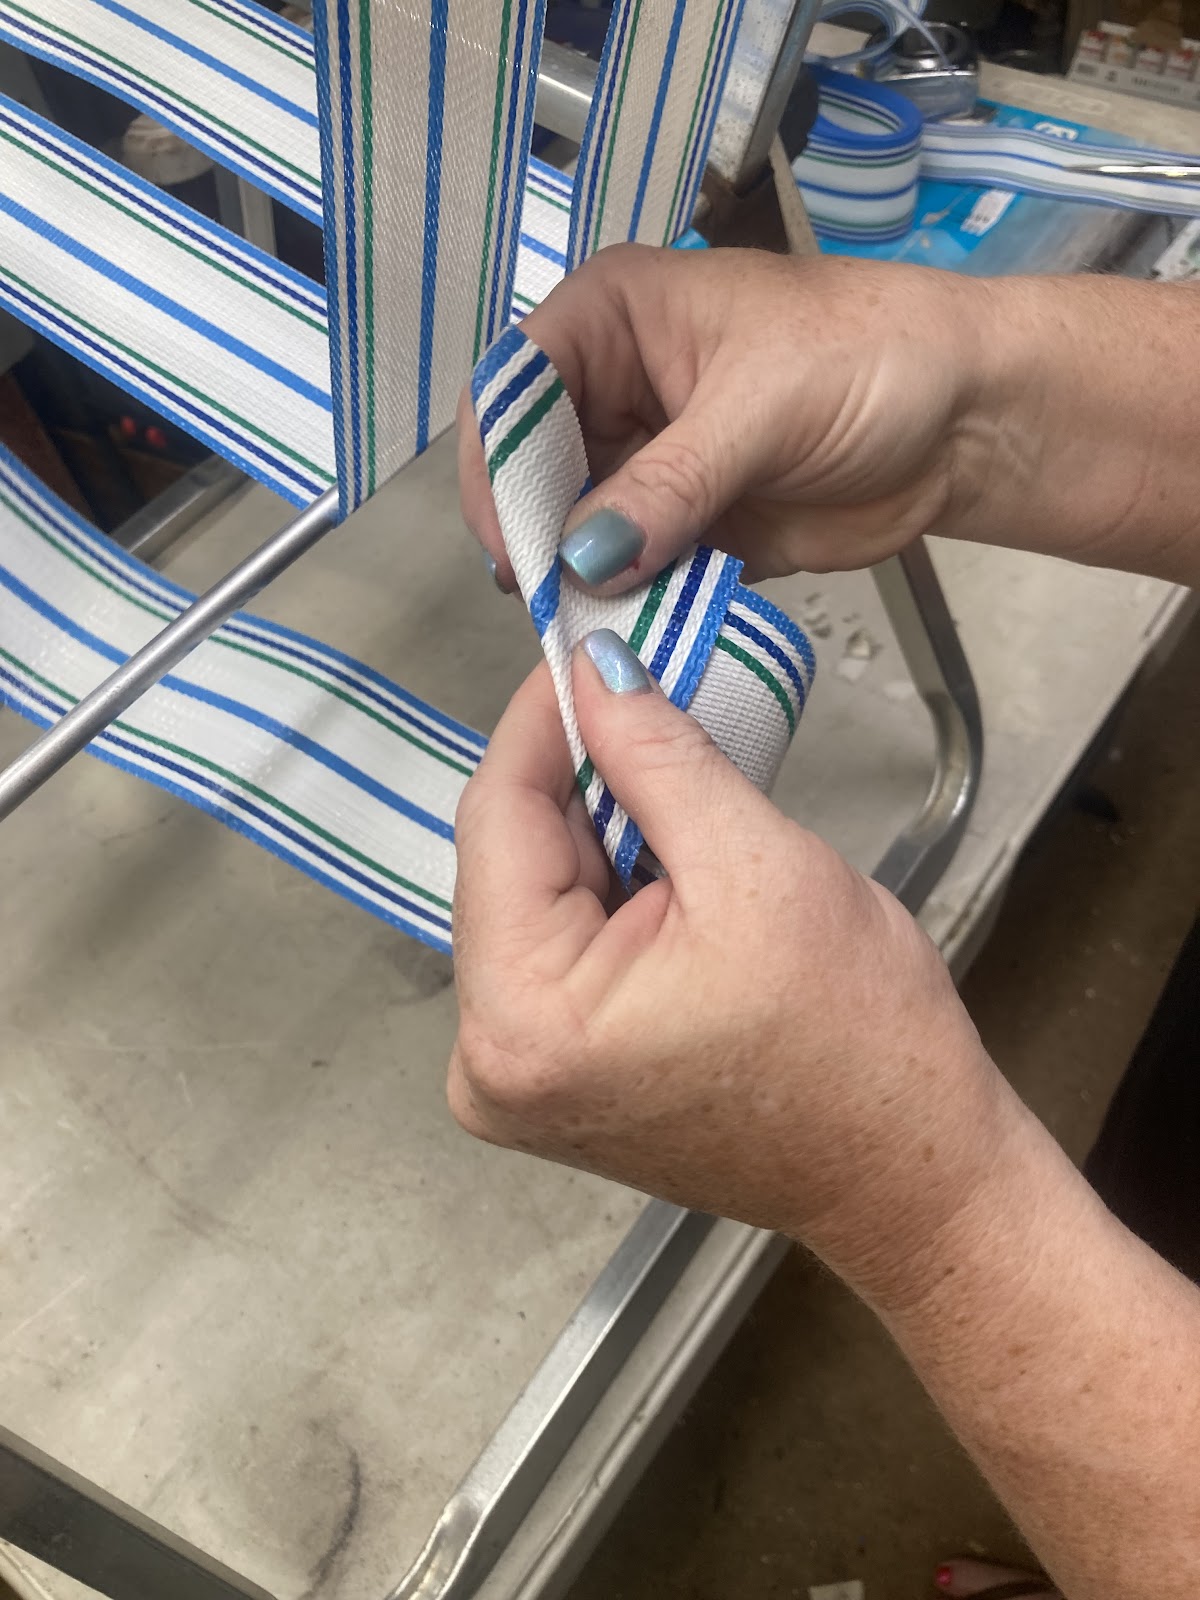

Grille Cloth

There are multiple places to get grille cloth, but I like Michael's products at RadioGrilleCloth.com because they are reproductions of original cloth and he lists the original source.  Although he didn't have an exact match, I ordered several choices.  Top to bottom are his products #01, #17, #11A, and #02A


I held them up one by one to the radio and ended up going with their #02A.  I felt it looked best next to the dark wood. 
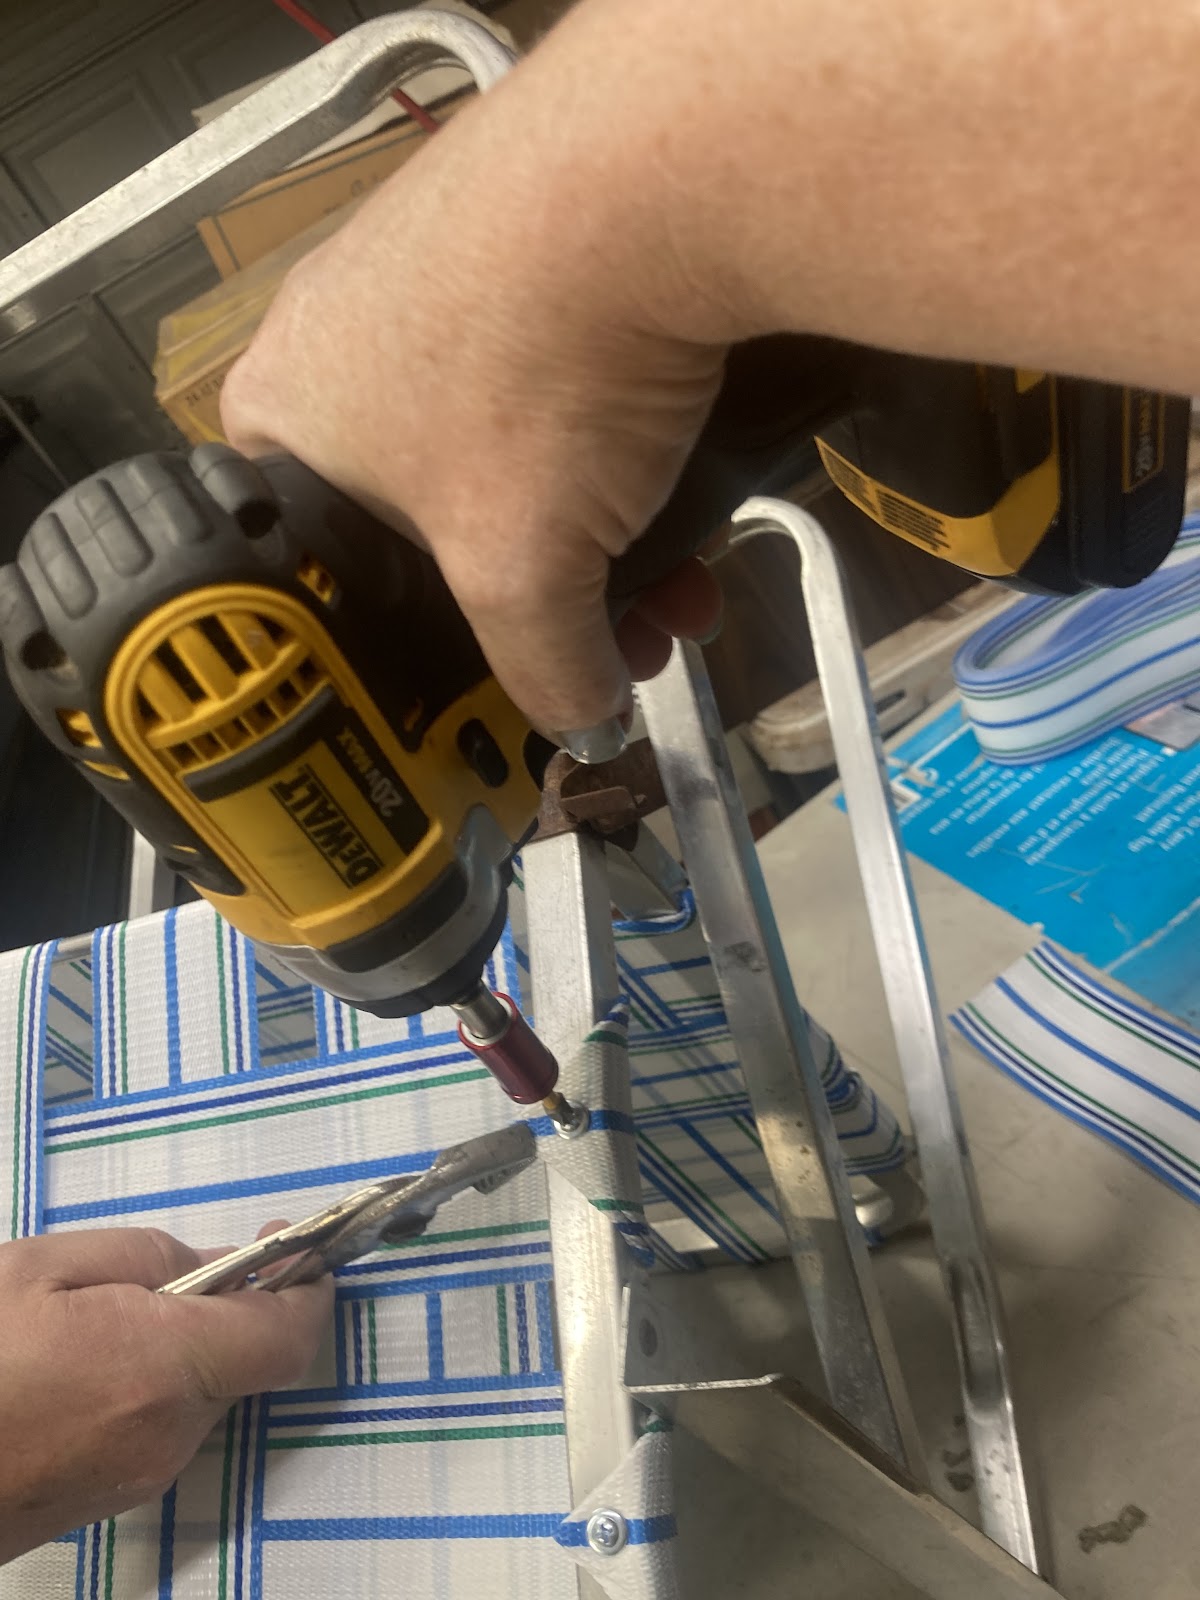

The Grille cloth was cut to the original backing board and then attached using 3M 77 Spray Adhesive.  


We then we used a small torch to melt the polyester threads to keep them from fraying.  You have to be careful with this step.  Don't get the flame to close!  Best to practice first on scrap piece of cloth. 


Handles

I tried cleaning up the original handles.  Unfortunately, they were brass plated over steel and the iron had rusted which meant they were not going to clean up. Trying to remove the rust was going to take what little brass plating that was left along with it. 


I ended up picking up replacements from Van Dyke's Restorers.  Fortunately,  the "Colonial Revival" style was pretty popular in the mid-20th century and still is popular today so I was able to find a suitable replacement. 


With the cabinet cleaned up, new Grille Cloth installed, and the new handles in place, the cabinet was starting to look pretty good!


Electrical

Unfortunately, I didn't get completely let off the hook on electrical and mechanical repairs. The speaker and turntable needed some attention.

Speaker

There was a hole in the grille cloth that went all the way through the speaker.  Fortunately, the piece of broken away speaker was still sitting inside. However, the paper was VERY brittle.  Rather than sourcing a new speaker, I decided to repair the old one.  I did my usual trick of putting some rubber cement on the broken seams to hold the pieces in place.  There was still one small hole, but this did not effect sound quality. 


Turntable

The turntable is a Webcor VHF Diskchanger model 1841.  I pulled the turntable out and tested it on the workbench.  Operation was rough. The turntable was dry and rusty inside.  I carefully went and lubricated the moving parts with Lithium Grease.  


Once things were lubricated up, everything started popping back into working order.   I went through all the automatic operations and record changing.


Here's a short video of it operating


With this fixed,  all that was left was to replace a few dial lamps.  Most radios of this era take a #47 6V dial lamp and I keep those in stock so I was able to replace the missing ones.  

This got the whole combination up and working wonderfully!


Webcor High Fidelity VHF Diskchanger Manual

The radio came with the original manual for the turntable.  Sharing here for anyone that might need it for their own project. 


Also, here is the schematic from Antique Electronic Supply.  Their website is a great resource for electrical parts.    


Saturday, July 27, 2024

1970's Lawn Chair Restoration

 These chairs were from my childhood. I love these chairs.  They are ever so light, you can lift them with one finger!  They are also wonderfully durable and have lasted for decades.  Fortunately, chair webbing is still pretty readily available so fixing and repairing is possible. . 

https://www.lawnchairusa.com/collections/webbing

I first had to strip off the old webbing and then polish the aluminum.  Polishing is a time consuming step, but really adds to the beauty of the final product.  

These are nice because they are all metal, no plastic arm rests. 


We then got to the business of webbing.  Measure the distance you need to cover from hole to hole.  You then add a few inches on each end for the fold.  

If using Screws and 2 1/4 inch Webbing, add 3.5 inches.
If using Screws and 3 inch Webbing,  add 4.5 inches
If using Clips, add 4 inches

You can see more details in this video:


Fold the tape at the end. 


Install all the straps in one direction first.  I pull hard on the strap with pliers to hold the tension while I attach the screw. 


Then weave them through. 


And Magic! 


Sunday, July 14, 2024

Binding Tape For Magic Lantern Slides

 For those of us that work with vintage media, we are often confronted with choices in repairing antique magic lantern slides.  Here are a few products that I have tried or have been suggested to me by others.  

1) Lineco Linen Hinging Tape

This is a cotton gummed ("moisten to stick") tape. I use it to repair tabs on slip slides as well as to bind broken slides. It coms in one inch wide rolls that need to be cut for your application.  It's quite strong and sticks well to glass. As it is "moisten to stick" you don't need to worry about adhesive leaking out when the slide is warm. 


2) Neschen Filmoplast P90 Mending Tape

This is an adhesive backed tape, but it takes preservation into consideration.  It is used by conservationists and was suggested to me by a few others. 


This is another adhesive backed tape, but it comes in a variety of widths,  holds up well over time, doesn’t “lift” or tear, and easily slides across the slide holder for panoramic slides. It’s also is thinner than some tapes so it allows for a very flush bindingThis is popular for people making their own animated slides from scratch and is used by Melissa Ferrari for her custom hand made slides


Gaff comes in many sizes and colours and has a fabric backing.  As the adhesive is not overly strong, it's easy to work with.  As it is a staple with most theaters or traveling performers it's great for quick fixes in the field.  I always carry a roll to every performance. However, it is another adhesive backed tape, may leak under heat, is not archival quality, and it is rather thick.  


This was highly recommended by a couple of Lantern society members from Canada who did a lot of searching and trying out of tapes of appropriate quality. It does not have some of the negative properties of other tapes like glue oozing into the slide under heat. It is 1/2 inch wide so may still need some trimming (Original taping were closer to 1/4 inch.)


Some folks like using old-fashioned brown paper butcher's tape, cut to the appropriate width. It's gummed  ("moisten to stick") which automatically avoids the residue or oozing problems sometimes found with adhesive tapes. The surface can also be blackened with a marker if the colour is objectionable.  Although, not nearly as strong as the Lineco tape, it is still "moisten to stick" so no gummy adhesive residue left on your slides.  I have seen it used on older repairs of slides done by others. 


7) Original Old Stock Binding Tape

If you can find some, and if it is still in good condition, original binding tape is a great choice.  However, it often has lost functionality due to years of exposure to moisture and the elements.  


And, for a little fun...


Sunday, February 18, 2024

Richard Balzer Collection at The Academy Museum

 I visited the "Path To Cinema" exhibit at The Academy Of Motion Pictures Museum in Los Angeles.  Dick Balzer was a well known member of The Magic Lantern Society and was both a collector and performer

Triunial Magic Lantern

Much of Richard's collection can be seen in this YouTube video. 

Although Richard passed away in 2017, his collection was donated by his wife Patricia Bellinger to the Academy Museum. 


The exhibit had a variety of different lanterns spanning multiple types and styles. 


There was also a good display of hand painted Magic Lantern slides. 


Besides the lanterns and slides, there was a good display of other entertainment technologies. 


There was also some original literature and posters. 


One of the walls had a display of several slides being performed.  There was no narration, just a demonstration of the slides, but it still did a pretty good job of showing what the capabilities of the media. 

Art

Phantasmagoria

Story

Travel

Science


The exhibit is being retired and put back into storage on March 12, 2024 so make sure to see it before it goes away.