

This one arrived in need of a lot of work. The turntable didn't turn, the radio was weak, and there was a typical 60hz hum in the speakers. First to tackle was the electrical repair. I opened up the case to take a look. Inside was a small metal chassis with 6 tubes.

The back of the radio had a simple drawing of the tubes included.

I cleaned it up in Gimp.

Although the tubes were in series, this was not a typical "All American Five" setup. There was no rectifier tube and there were two 35C5 audio output tubes. Instead of a rectifier tube, there was a Selenium Rectifier. It can be seen in this picture as the stacked blue wafers in the upper left. I typically see these in radios from the late 50's or early 60's.

In order to solder in the new capacitors, I had to get to the base of the original. It was underneath the Selenium Rectifier so I had to move it aside.
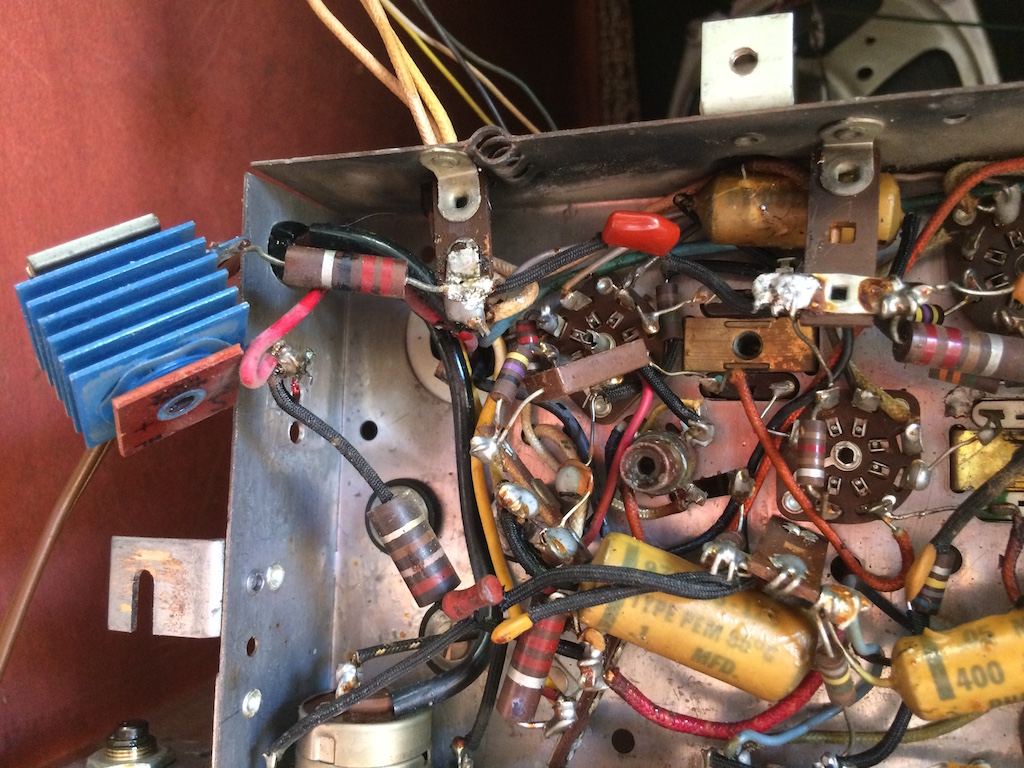
The original electrolytic capacitor was three sections of 150V and 40mfd each. I soldered in three 160V 47mfd capacitors. I tested each before installing and they all measured at 39.6mfd. It's interesting that the tolerances are off by that much, but fine for this. You can see the new capacitors in the lower middle of the chassis here.

While I had the radio open, I went ahead and tested all the tubes. I very rarely find bad tubes. Capacitors fail all the time, but tubes can last for decades. Turns out though, this radio had one weak (35C5 Audio Output) and one bad tube (12BE6 Pentagrid Converter) so I replaced them both. Perhaps this is why the reception was so poor. Fortunately, I keep all the tubes for this radio in stock.

With electrical repairs done, I tested the radio and it sounded great. It was time to tackle mechanical repairs. First was the dial. The cord was slipping on the tuning shaft so I was not able to tune the radio. You can see here how polished it was.


While I had the radio open I added a second cable for an MP3 player. I ran it up near the turntable so I can play audio from a headphone jack into the audio input. I tested it out with my phone and it sounded great.

Next was the turntable. The idler wheel was not making consistent contact with the turntable so it was slipping. These are impossible to buy new now days. You can get used ones on Ebay for around $15-$20, but they are no better than the broken originals. Since I was going to be getting creative I decided to buy a used one anyway. Once it arrived, I coated it in "Parts Dip" that is used for handles on tools. This gave it extra thickness and much "stickier" rubber. You can see it on the left with the "Re Tread".

I then installed on the turntable. The turntable was running, but there was still a problem. The wheel didn't align properly with the motor. This was because the grommets that hold the motor in place had grown old and flattened. The motor was lower than it was supposed to be.


I put everything back together and tested it out and the radio and turntable are working great.


Everything was working so I brought it to work. Here's how it looks in my office at work.
