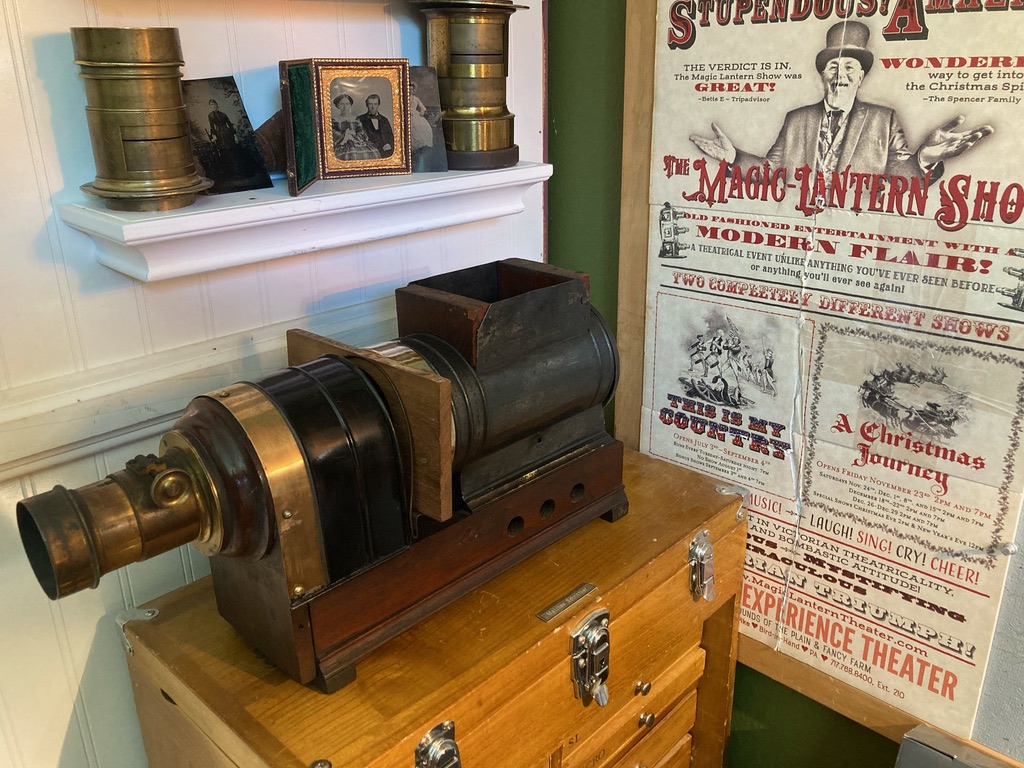
Designed in the late 1860s, the Marcy Sciopticon brought new innovations to Magic Lantern design. The double body, double wick kerosene illumination, and compact design set a new standard for the technology of cinema projection.
I had originally purchased my Marcy due to an interest in the lens. I
expected that the Darlot Petzval lens would be useful for making
tintypes using wet plate photography. However, I became enchanted with
the the lantern. The beautiful brass and wood combination and solid
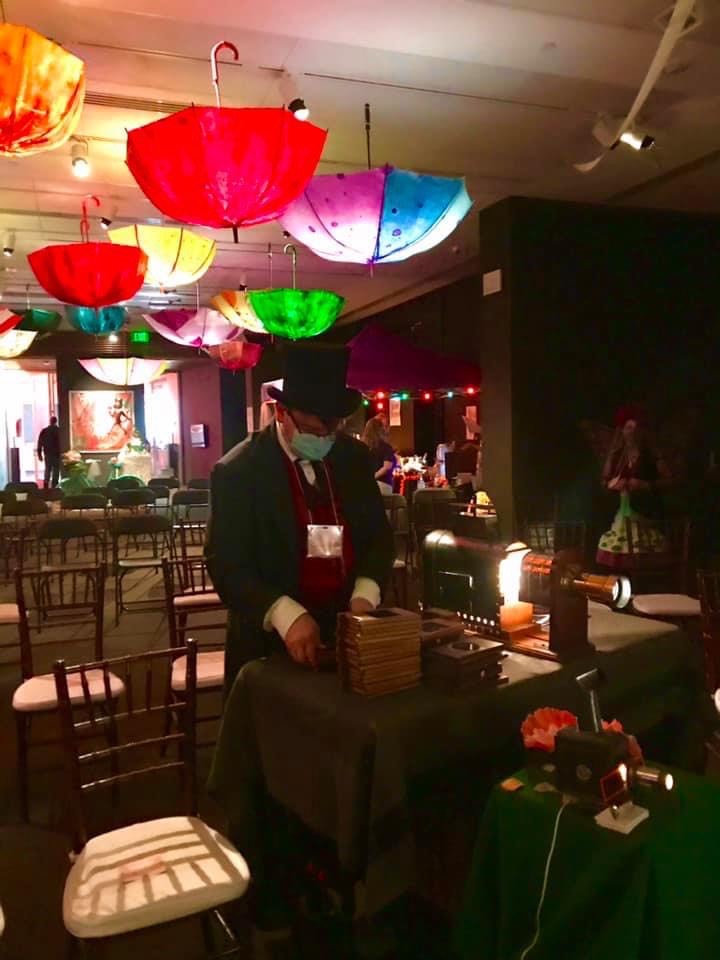
construction dating back to the 1860s seemed a perfect companion for the
historic demonstrations I do at Fort Tejon State Historic Park in
Southern California.
As I have had some success building my own lighting systems for
lanterns, I decided to try building LED lighting for it. I based the
design on the MR16 style LED bulb. They can be obtained in 12V models
and the LED versions run up to 9 watts. They vary between 15 and 35
degree dispersion angle so you can choose a bulb that works with your
specific condenser and lantern body. For this project I used the SORAA
08740 75 Watt Equivalent". It has 665 lumens, 36 degree dispersion
pattern and only consumes 9 watts.
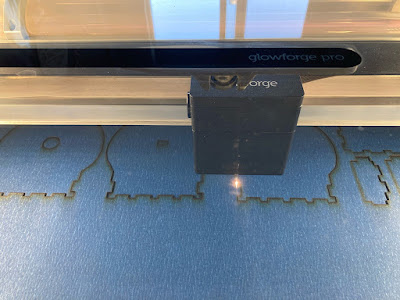
I started by measuring the inside of the lantern and sketching out a
basic design. This design was loaded into the Affinity Designer
software that is used with the GlowForge.
When designing something new, it often takes a few iterations to get
everything quite right so several prototypes were created on cardboard.
The design was finally cut out using the Glow Forge Pro on 1/8 inch
Birch Plywood.
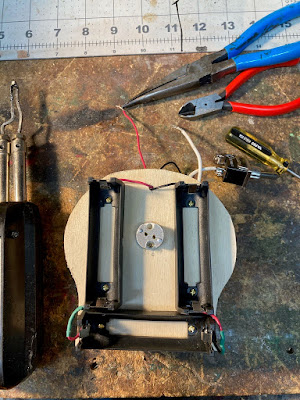
Cut out and ready for assembly.
Gluing the pieces together.
I attached battery holders for 18650 cells. The 18650 is a very
versatile cell that runs at 3.7 volts and will have a capacity between 2
and 5 amp hours depending on the model purchased. They are readily
available and not too expensive.
The MR16 style LED bulb mounted on the front.
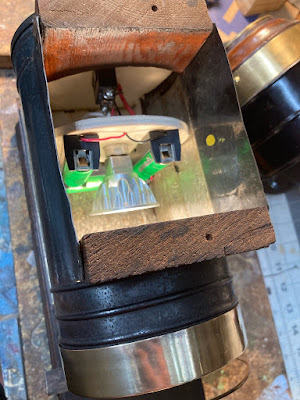
Once installed in the lantern, the switch in the back is nicely disguised by the back cover.
The lamp sits essentially where the original flame would have been when operating with kerosene.
After some testing, I found my design needed a few revisions.
- Low Voltage -
As the 18650 cells are 3.7 volts each, this gives a total system
voltage of 11.1 volts. Although this was enough to drive the LED and it
worked OK, I decided to add a cell to raise the voltage to 14.8 volts
hoping that this would give me longer battery life.
- Heat
- I thought having the batteries in front would keep them out of the
way, but even with only consuming 9 watts, the bulb does get hot. Not
all 18650 batteries do well with heat, so I started loosing batteries to
heat failure. I needed to move the batteries off of the front.
- Balance - Having the bulb and batteries in front made the fixture a bit "Front Heavy".
I decided to mitigate all of these by adding a battery holder and distributing the batteries around the holder differently.
Fully installed, the lamp is imperceptible and does a nice job
illuminating an image. As it runs on battery, it can be used almost
anywhere.
I measured light at the screen at 15 feet using a handheld light meter with two different bulbs. Here were the readings in LUX.
- SORAA 9W 12V 670 Lumens 36 degree dispersion: Lux at Screen: 90
- CREE 7.5W 12V 570 Lumens 25 degree dispersion: Lux at Screen: 80
This is enough light to do a good job projecting in a dark room. As the Marcy likes a "Point" light source, I also found that this was
about 20% brighter than the COB (Chip On Board) style LED used in other
lighting designs such as the CelSun. It
is certainly much brighter than the original kerosene illumination would
have been.
Hope you enjoyed this overview. Please feel free to reach out with any questions.